Running a website is not always smooth. Sometimes you'll notice weird traffic, bots, or even full-on attacks that slow everything down. If you're using Cloudflare, don't worry - you already have a few tools that can help.
In this guide, I'll show you how to:
- Switch on Attack Mode (also called "Under Attack Mode").
- Use the WAF firewall to block bad traffic.
What is Attack Mode?
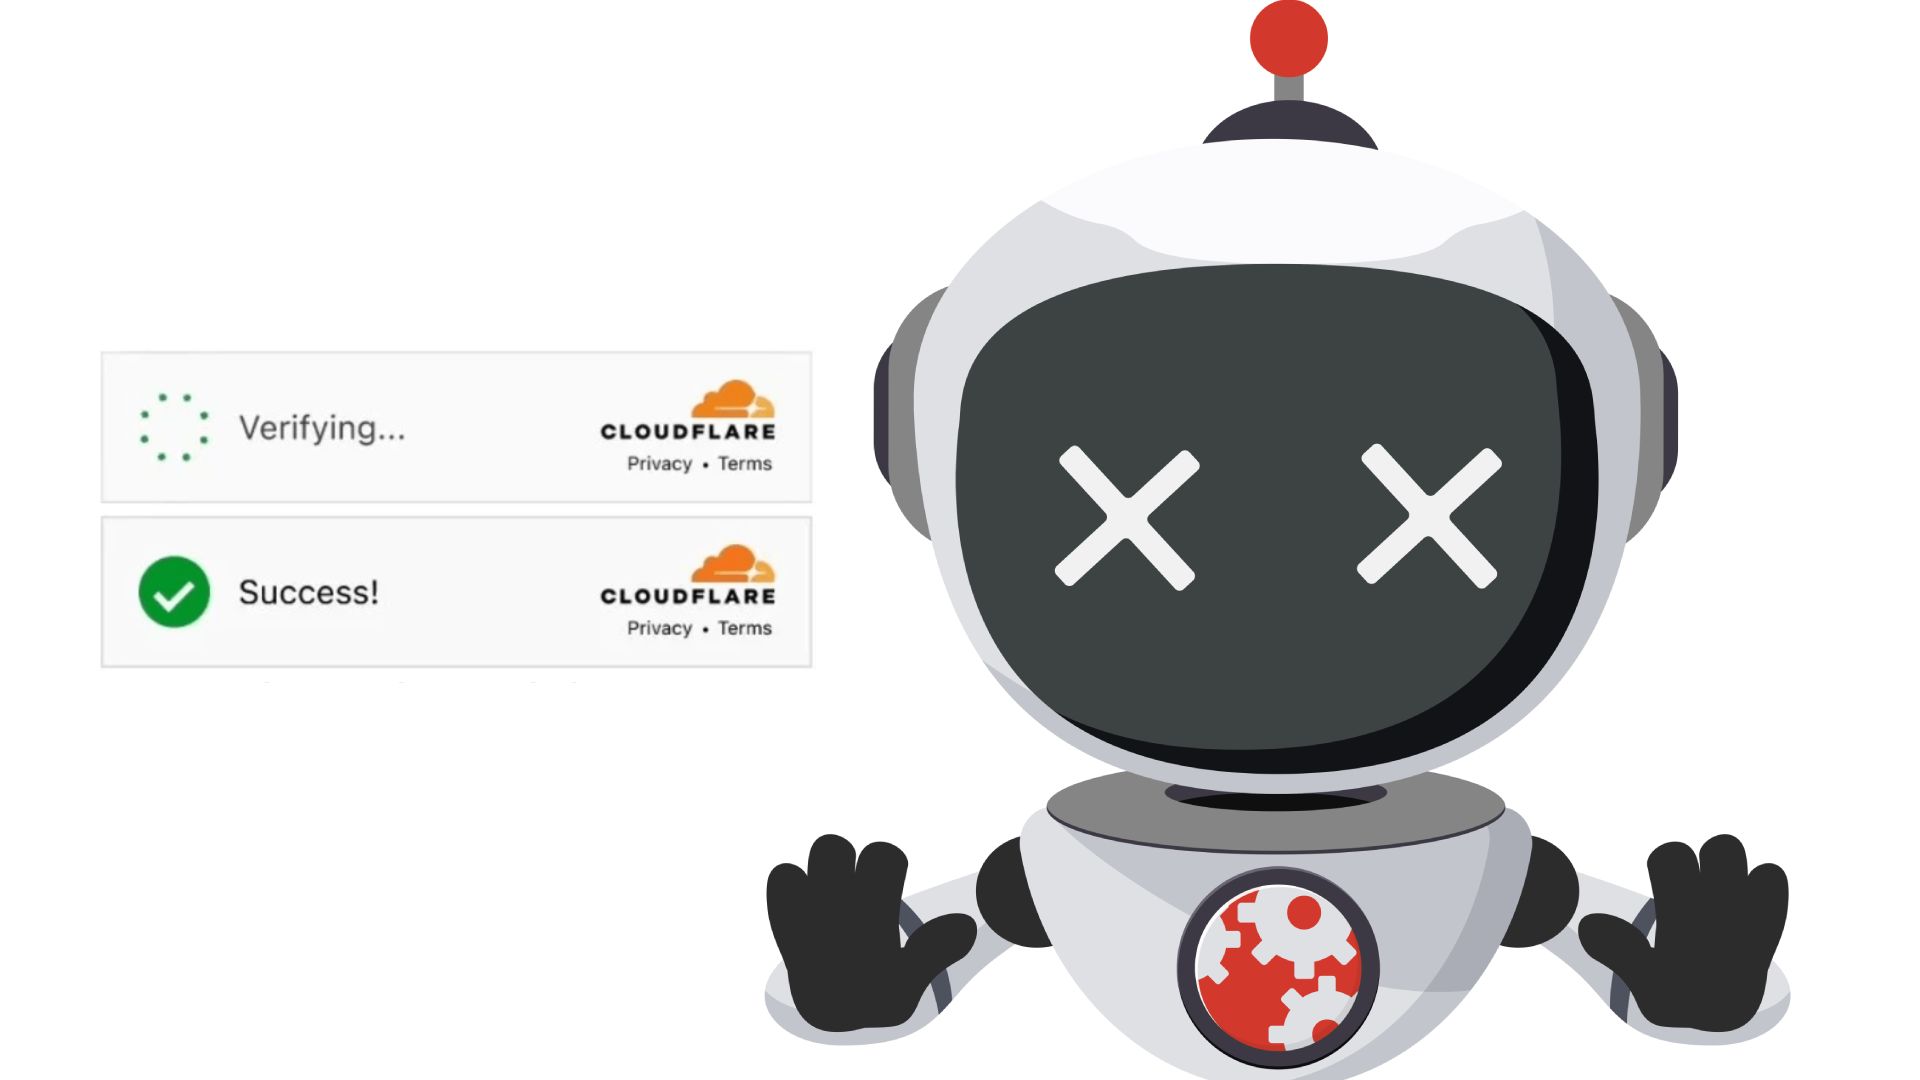
Think of Attack Mode as a quick shield. When you turn it on, Cloudflare shows a short "checking your browser" page before people can enter your site.
Real visitors will get through in a few seconds. Bots and scripts usually fail the check.
It's not something you keep on all the time, but when your site is under heavy attack, it's a lifesaver.
What is WAF?
WAF stands for Web Application Firewall. Don't worry, it sounds more complicated than it is.
The WAF is like a filter. You get to set rules, and Cloudflare will block, allow, or challenge traffic based on those rules.
For example, you can:
- Block a single IP address that’s spamming your site.
- Stop traffic from a country that’s flooding your server.
- Challenge bots that pretend to be real people.
It gives you more control compared to just switching on Attack Mode.
How to Enable Attack Mode?
Here’s how you turn it on:
- Log into your Cloudflare account.
- Pick the domain you want to protect.
- On the Overview page, look at the right-hand side for Quick Actions.
- Click Under Attack Mode.
That’s it. From that moment, your site gets the extra protection.
How to Add WAF Rules?
Now let’s talk about custom firewall rules.
- Go to your domain in Cloudflare.
- Click on Security and then WAF.
- Press Create Firewall Rule.
- Give it a name (for example: Block Spam Bots).
- Add a condition, such as:
- IP equals 123.45.67.89 → blocks one IP.
- Country equals RU → blocks traffic from that country.
- User Agent contains python→ blocks bots using “python.”
6. Choose an action (Block or Challenge).
7. Save the rule.
The rule will start working right away.
A Few Tips
- Don’t go overboard. Blocking entire countries might stop real visitors too.
- Watch your Cloudflare security logs to see what’s being blocked.
- Use Attack Mode during big attacks, and WAF rules for regular filtering.
Final Words
Cloudflare gives you simple but powerful tools to protect your site. Attack Mode is your “emergency button,” while WAF is your “custom filter.” If you know how to use both, you’ll be ready the next time someone tries to bring your site down.
Comments (0)
No comments yet. Be the first to comment!


Leave a Comment